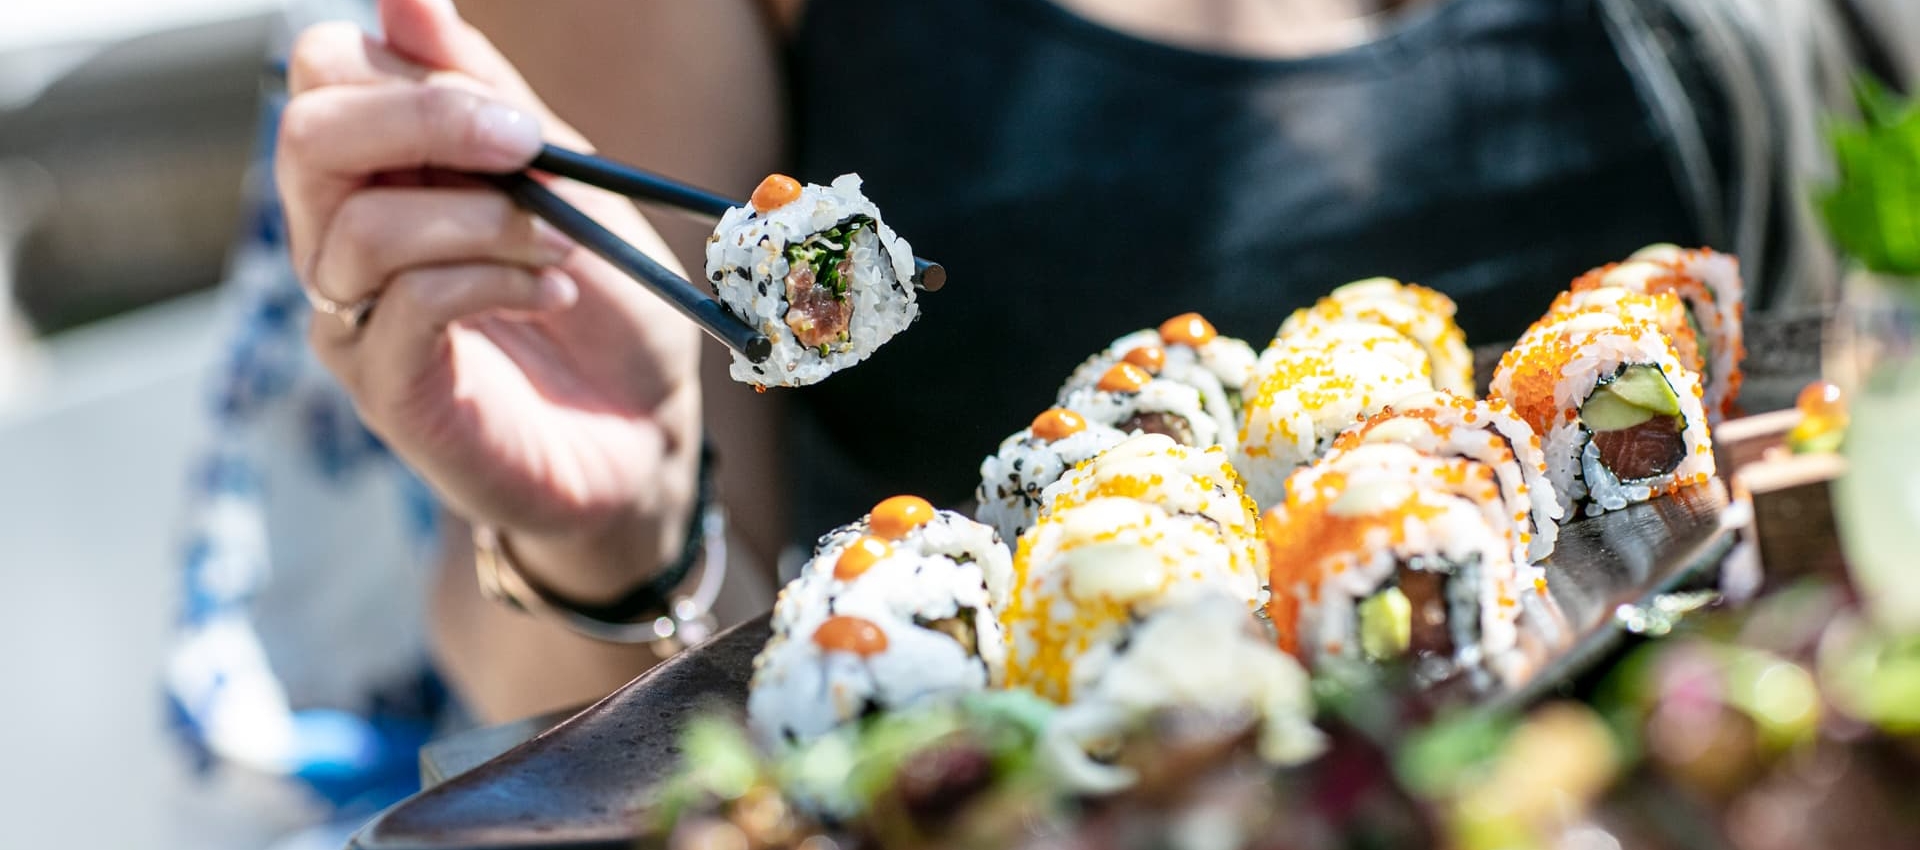
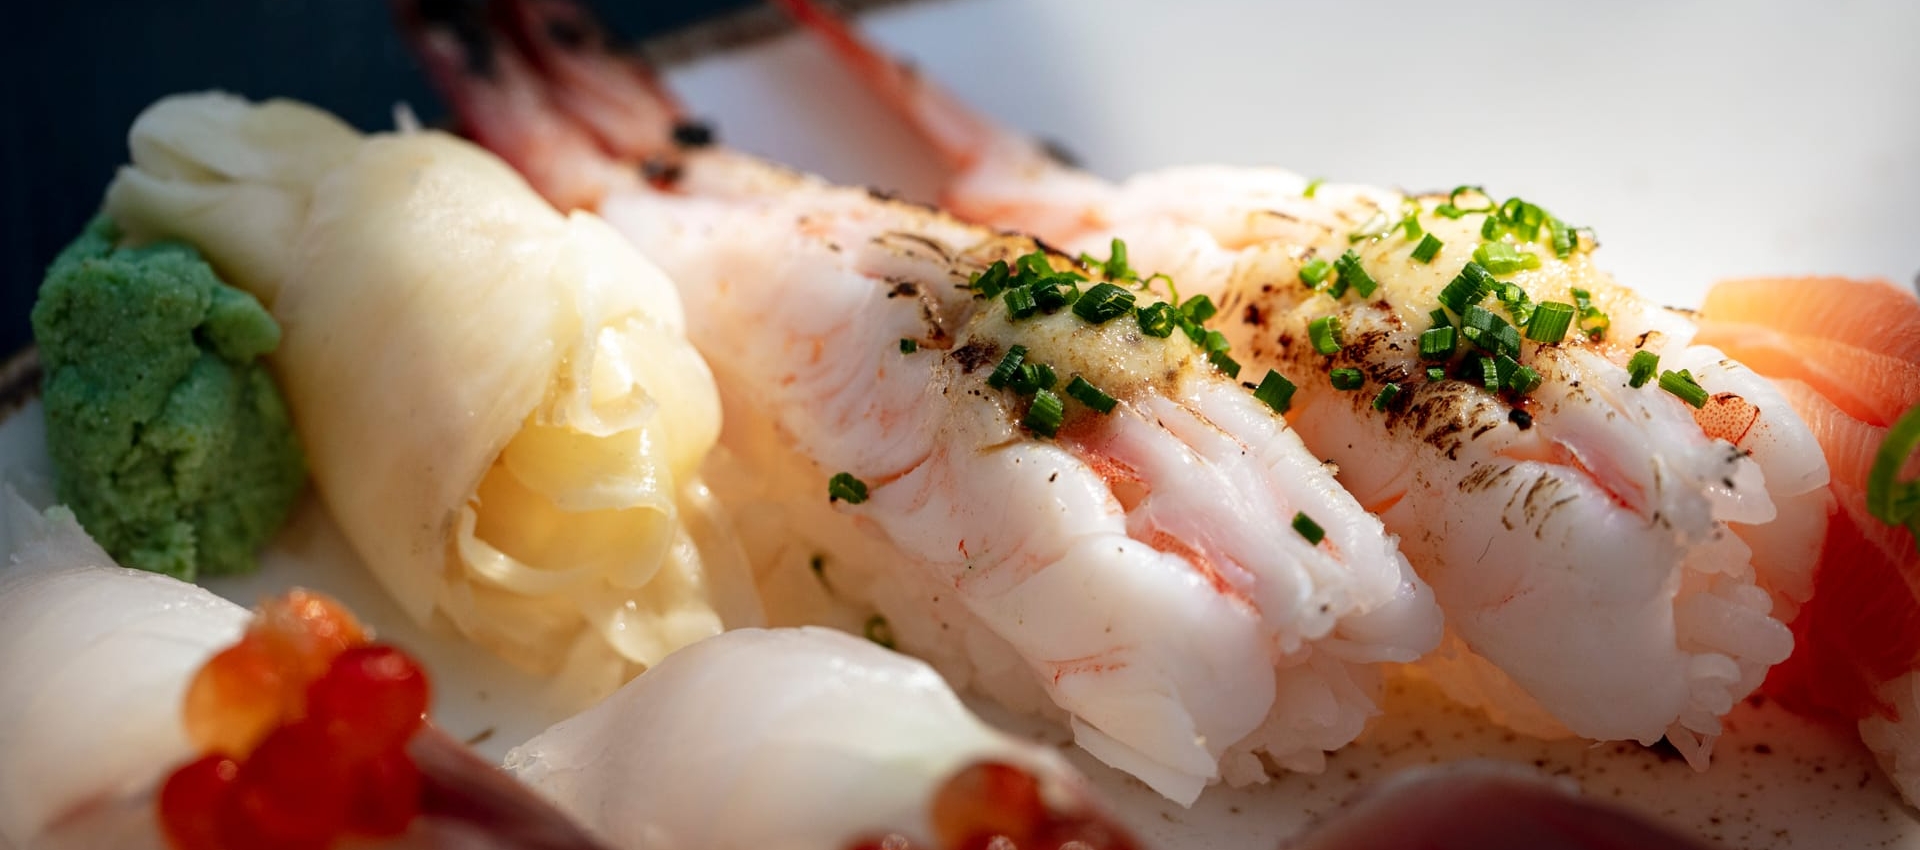
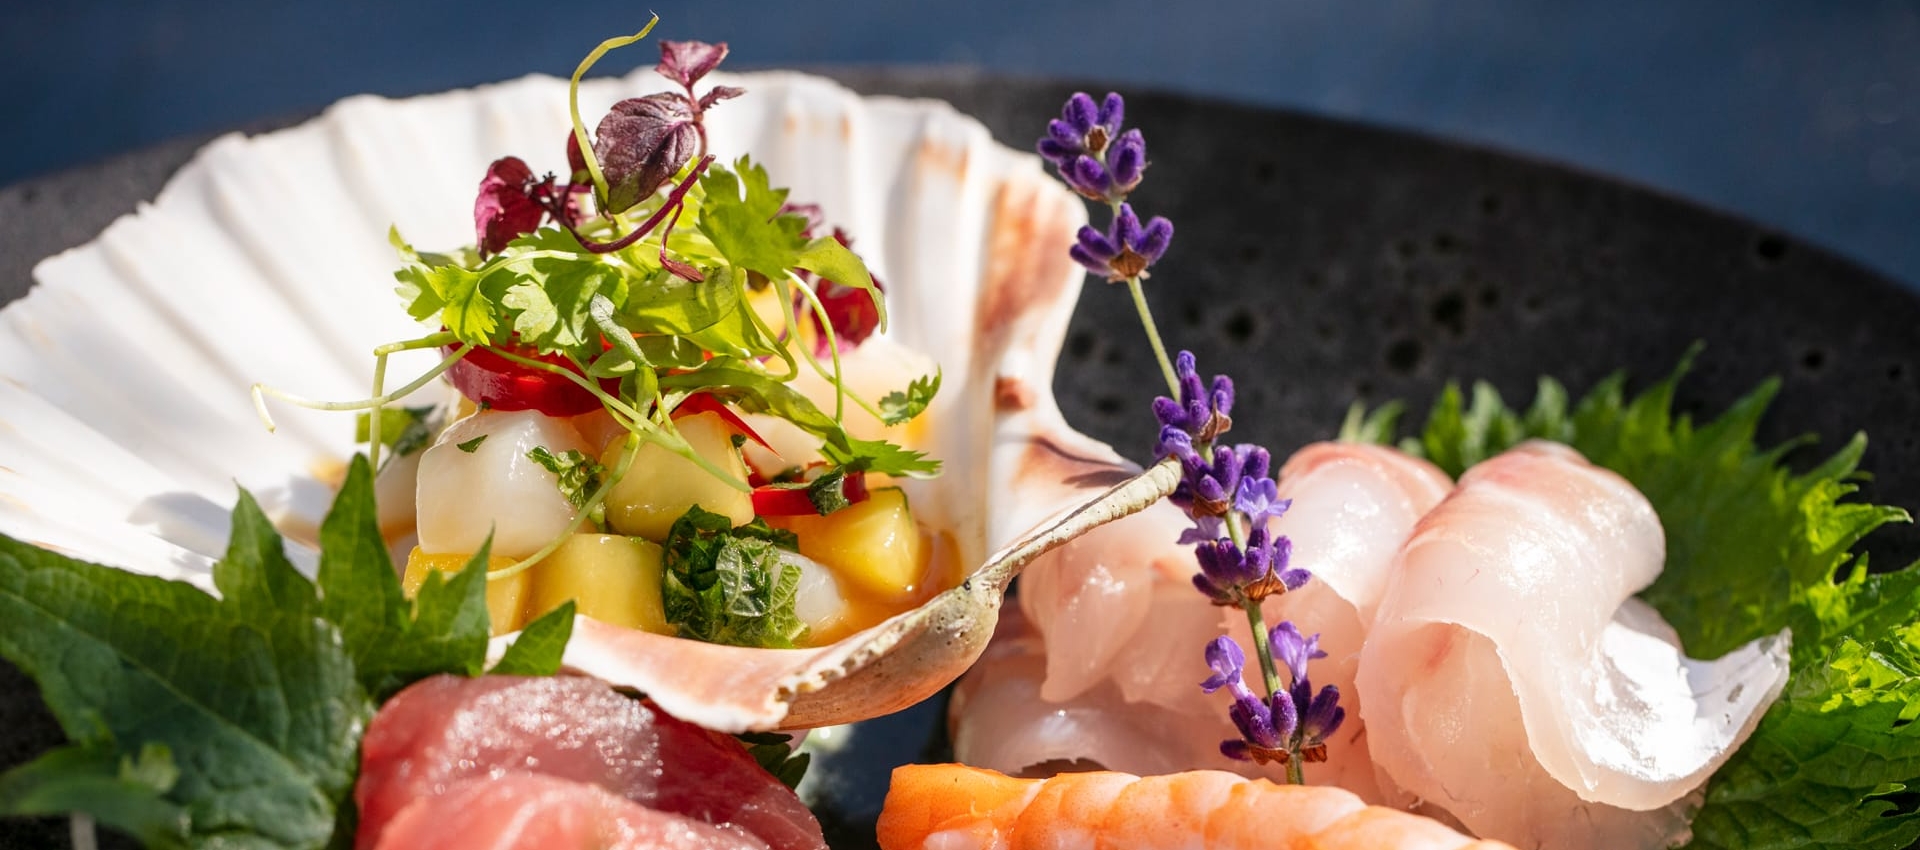
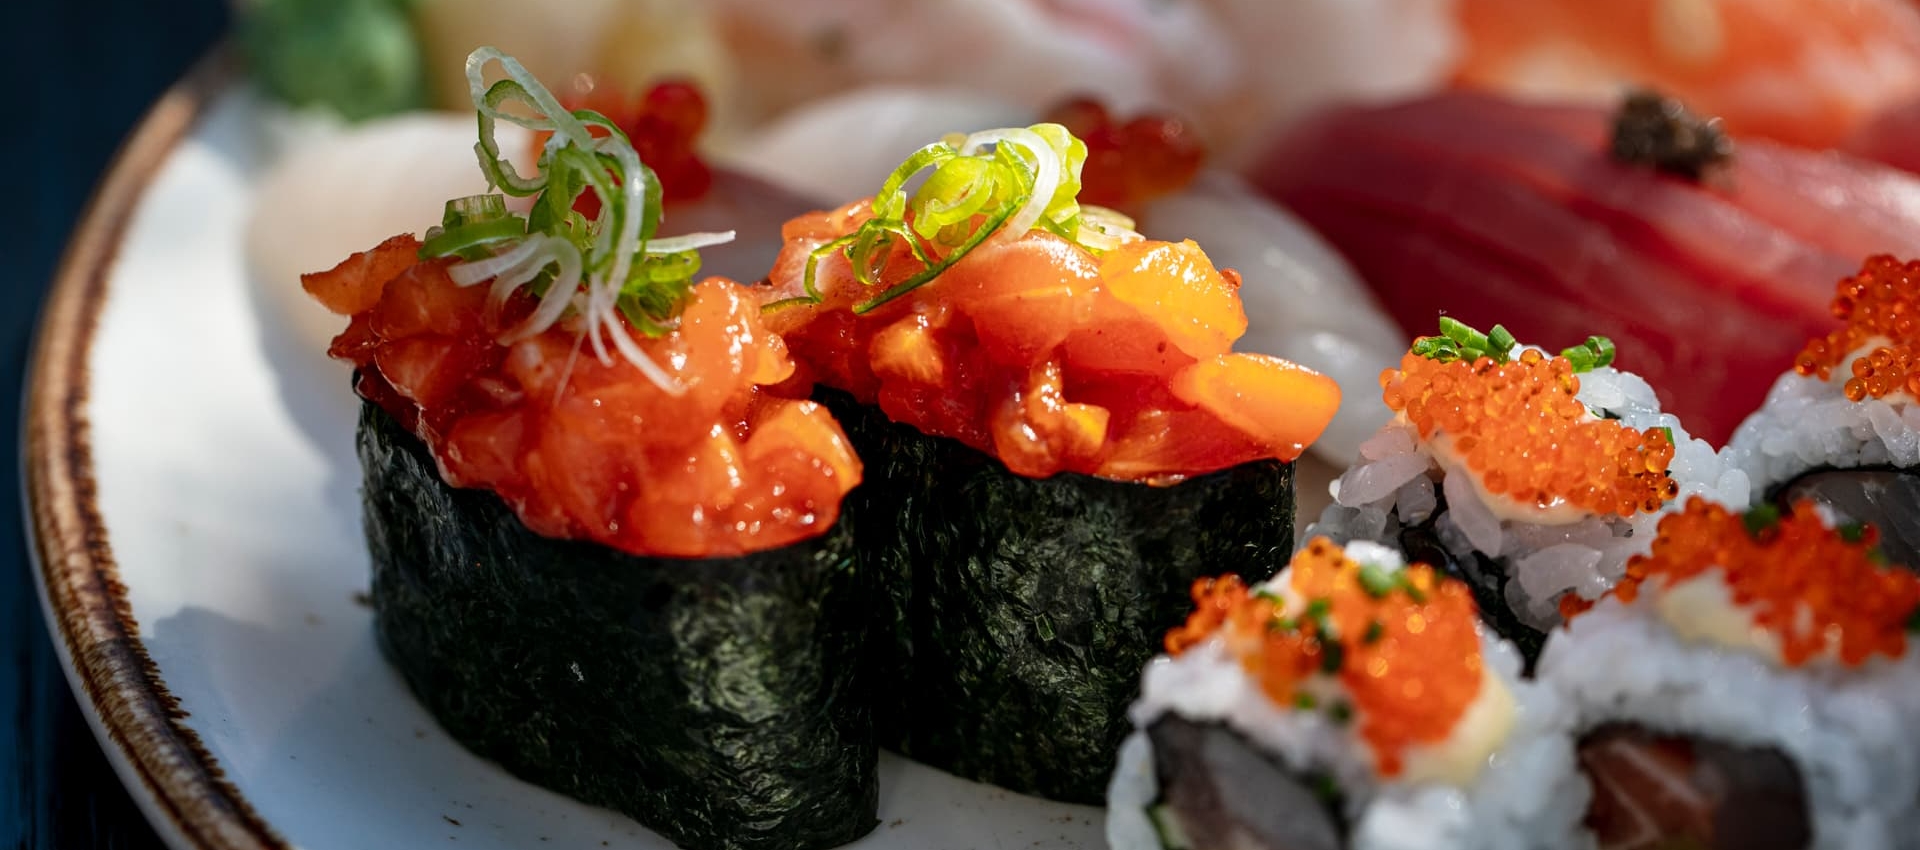
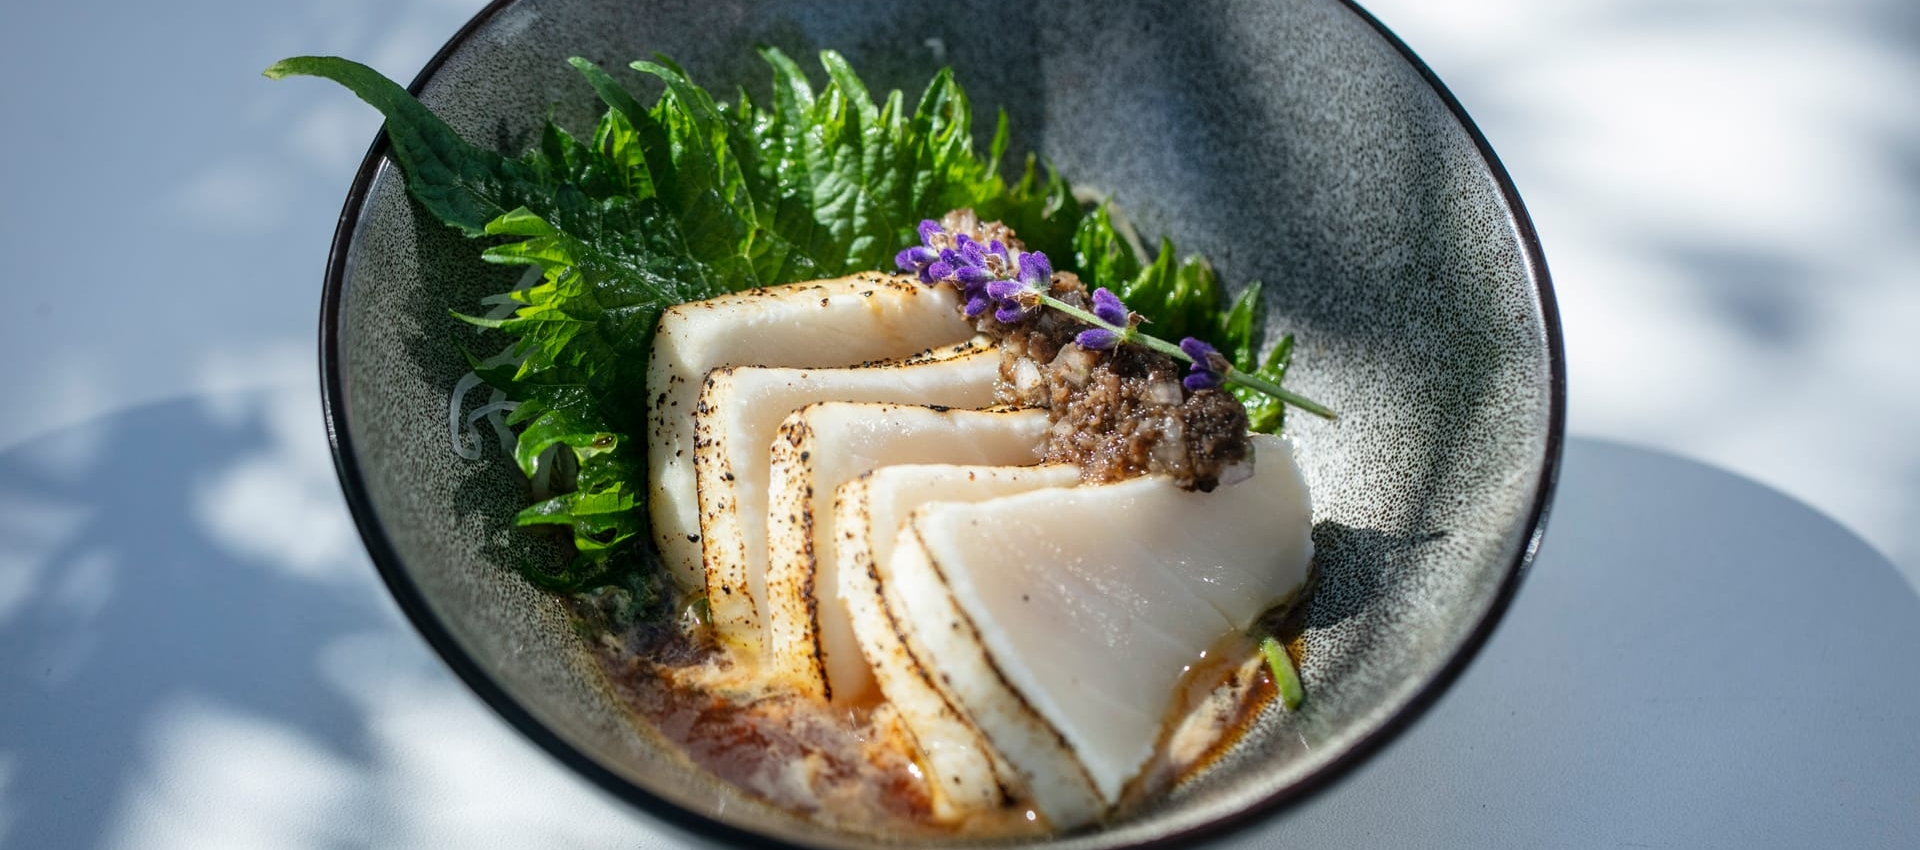
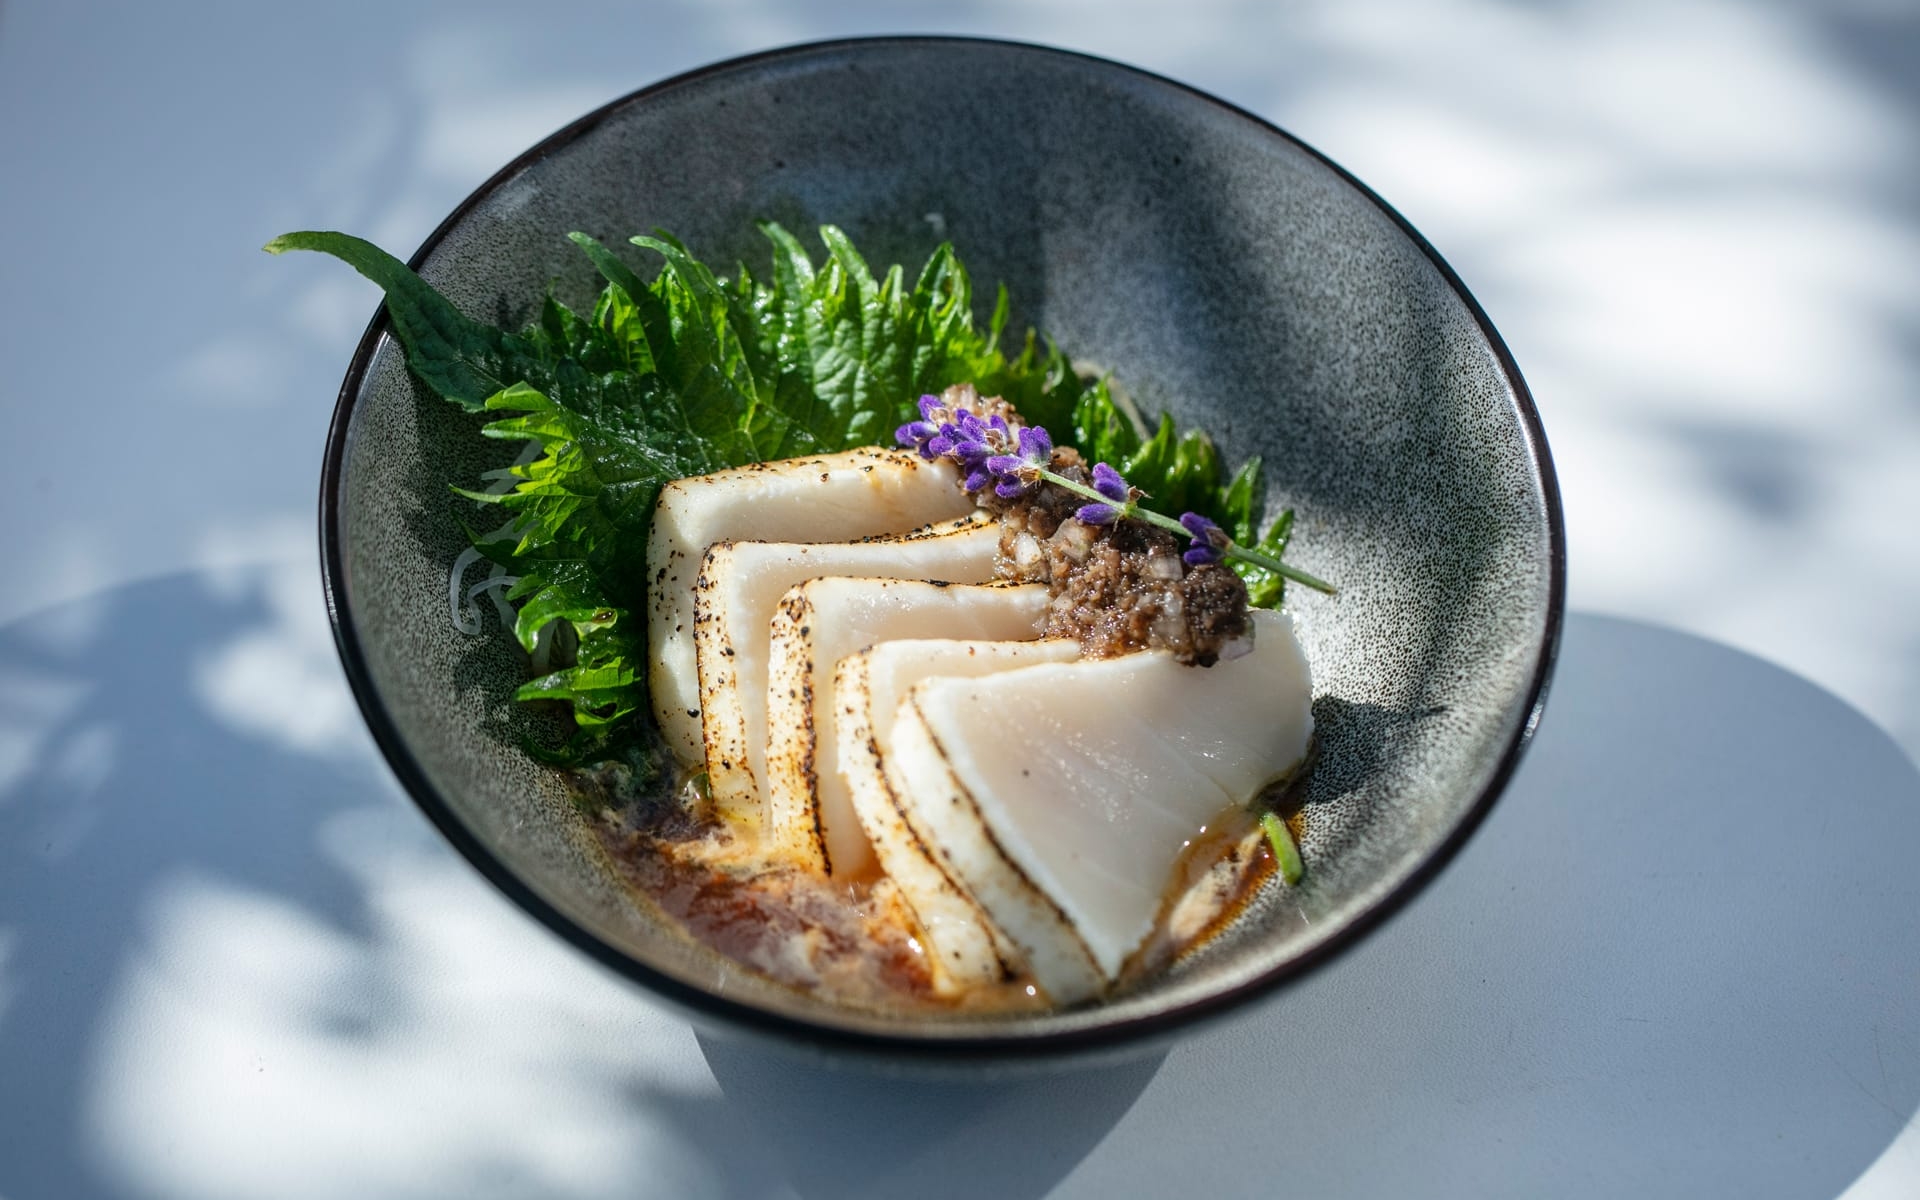
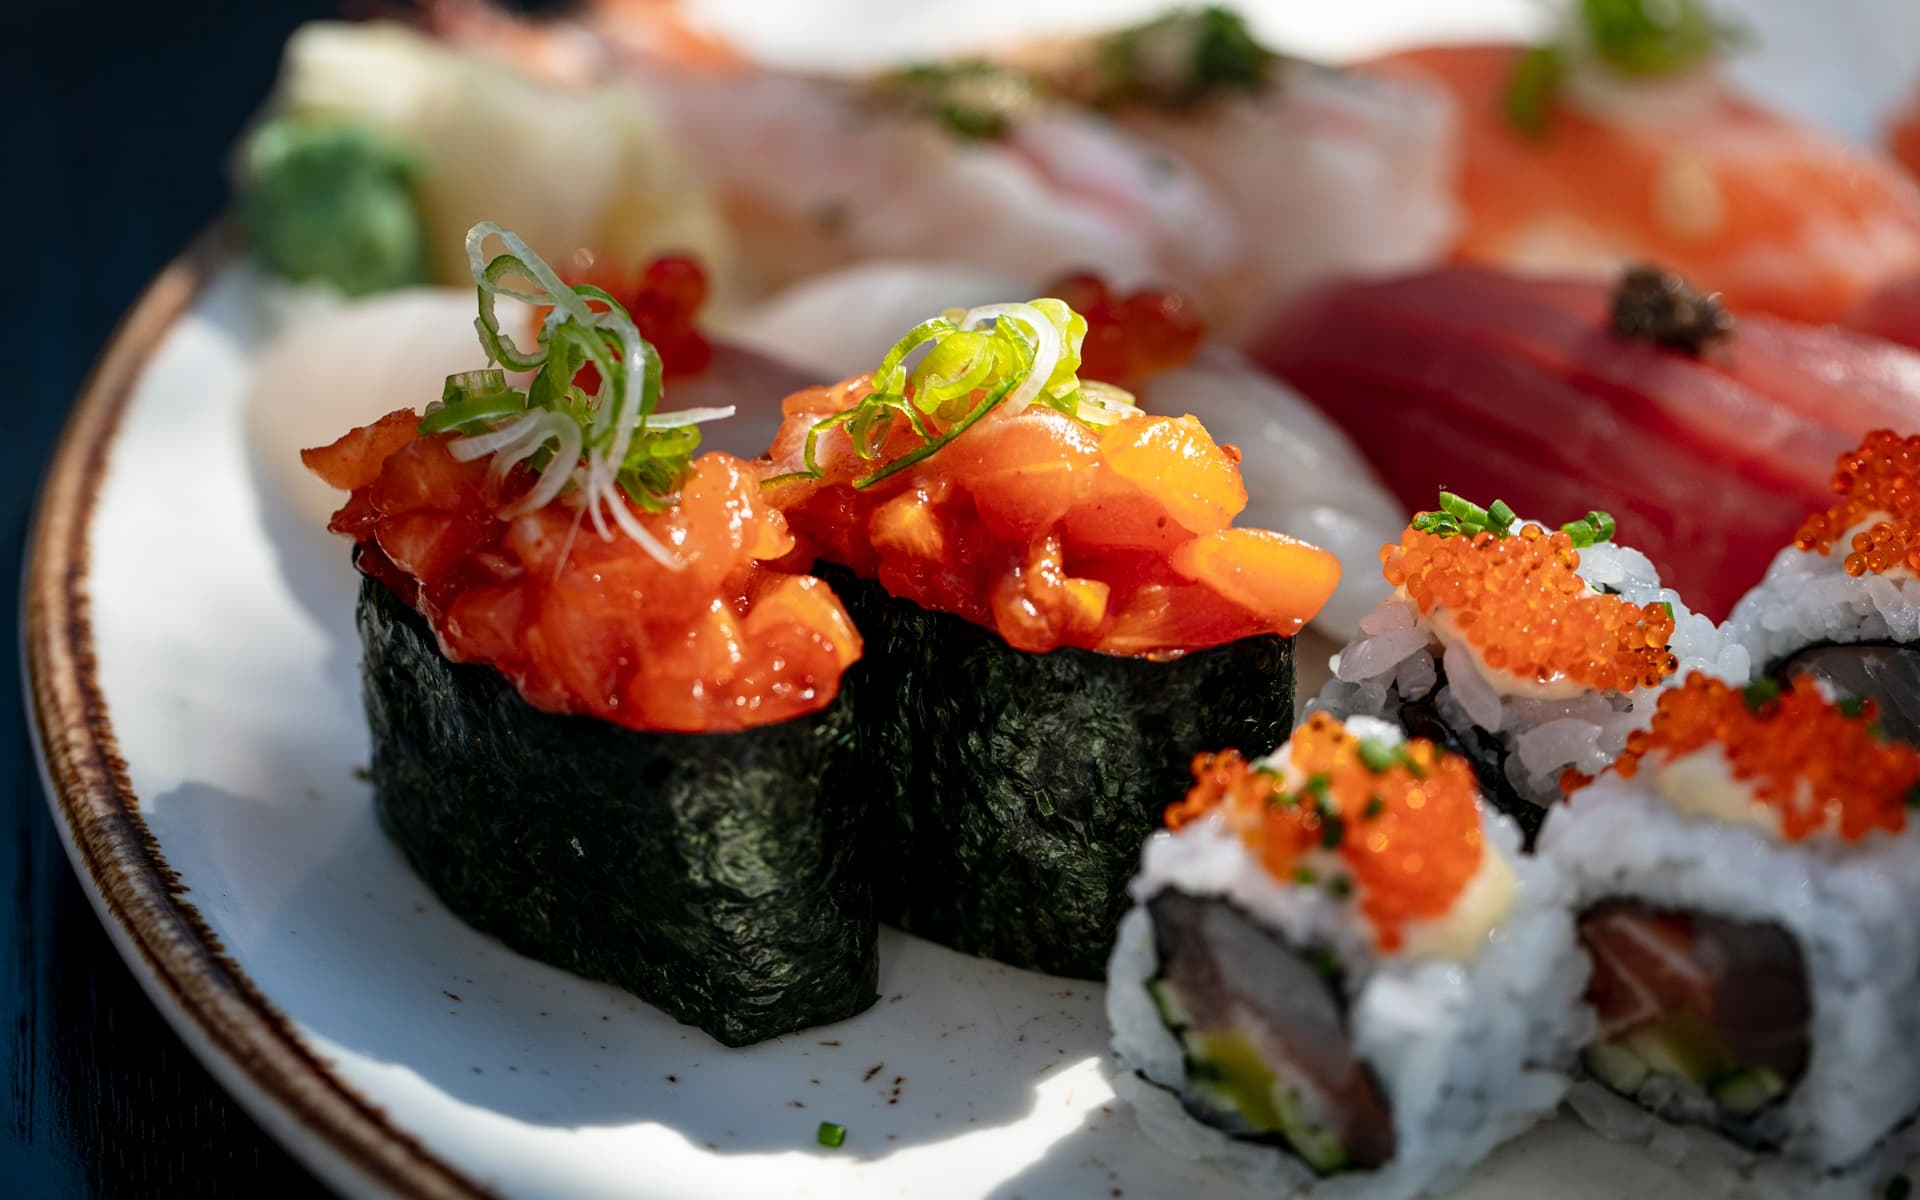
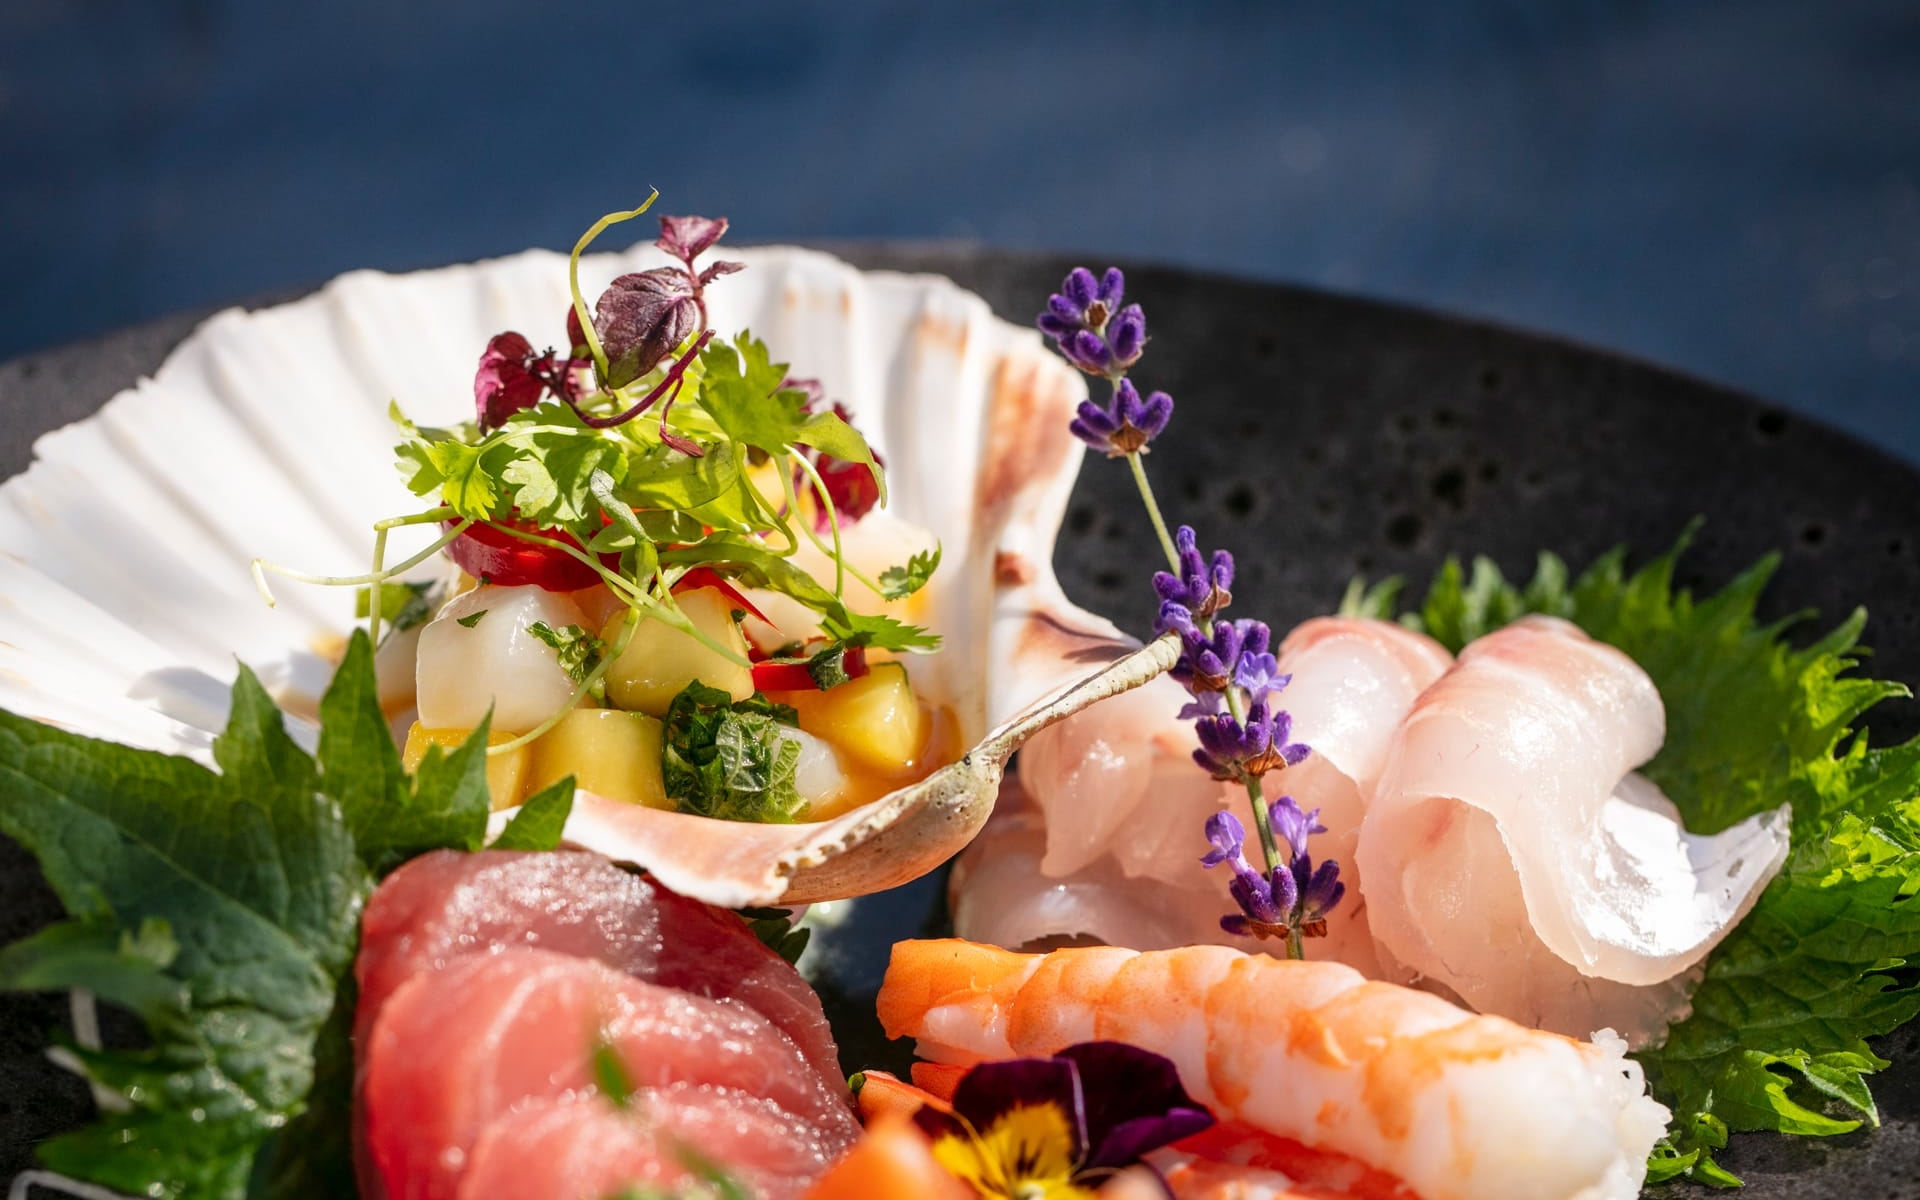
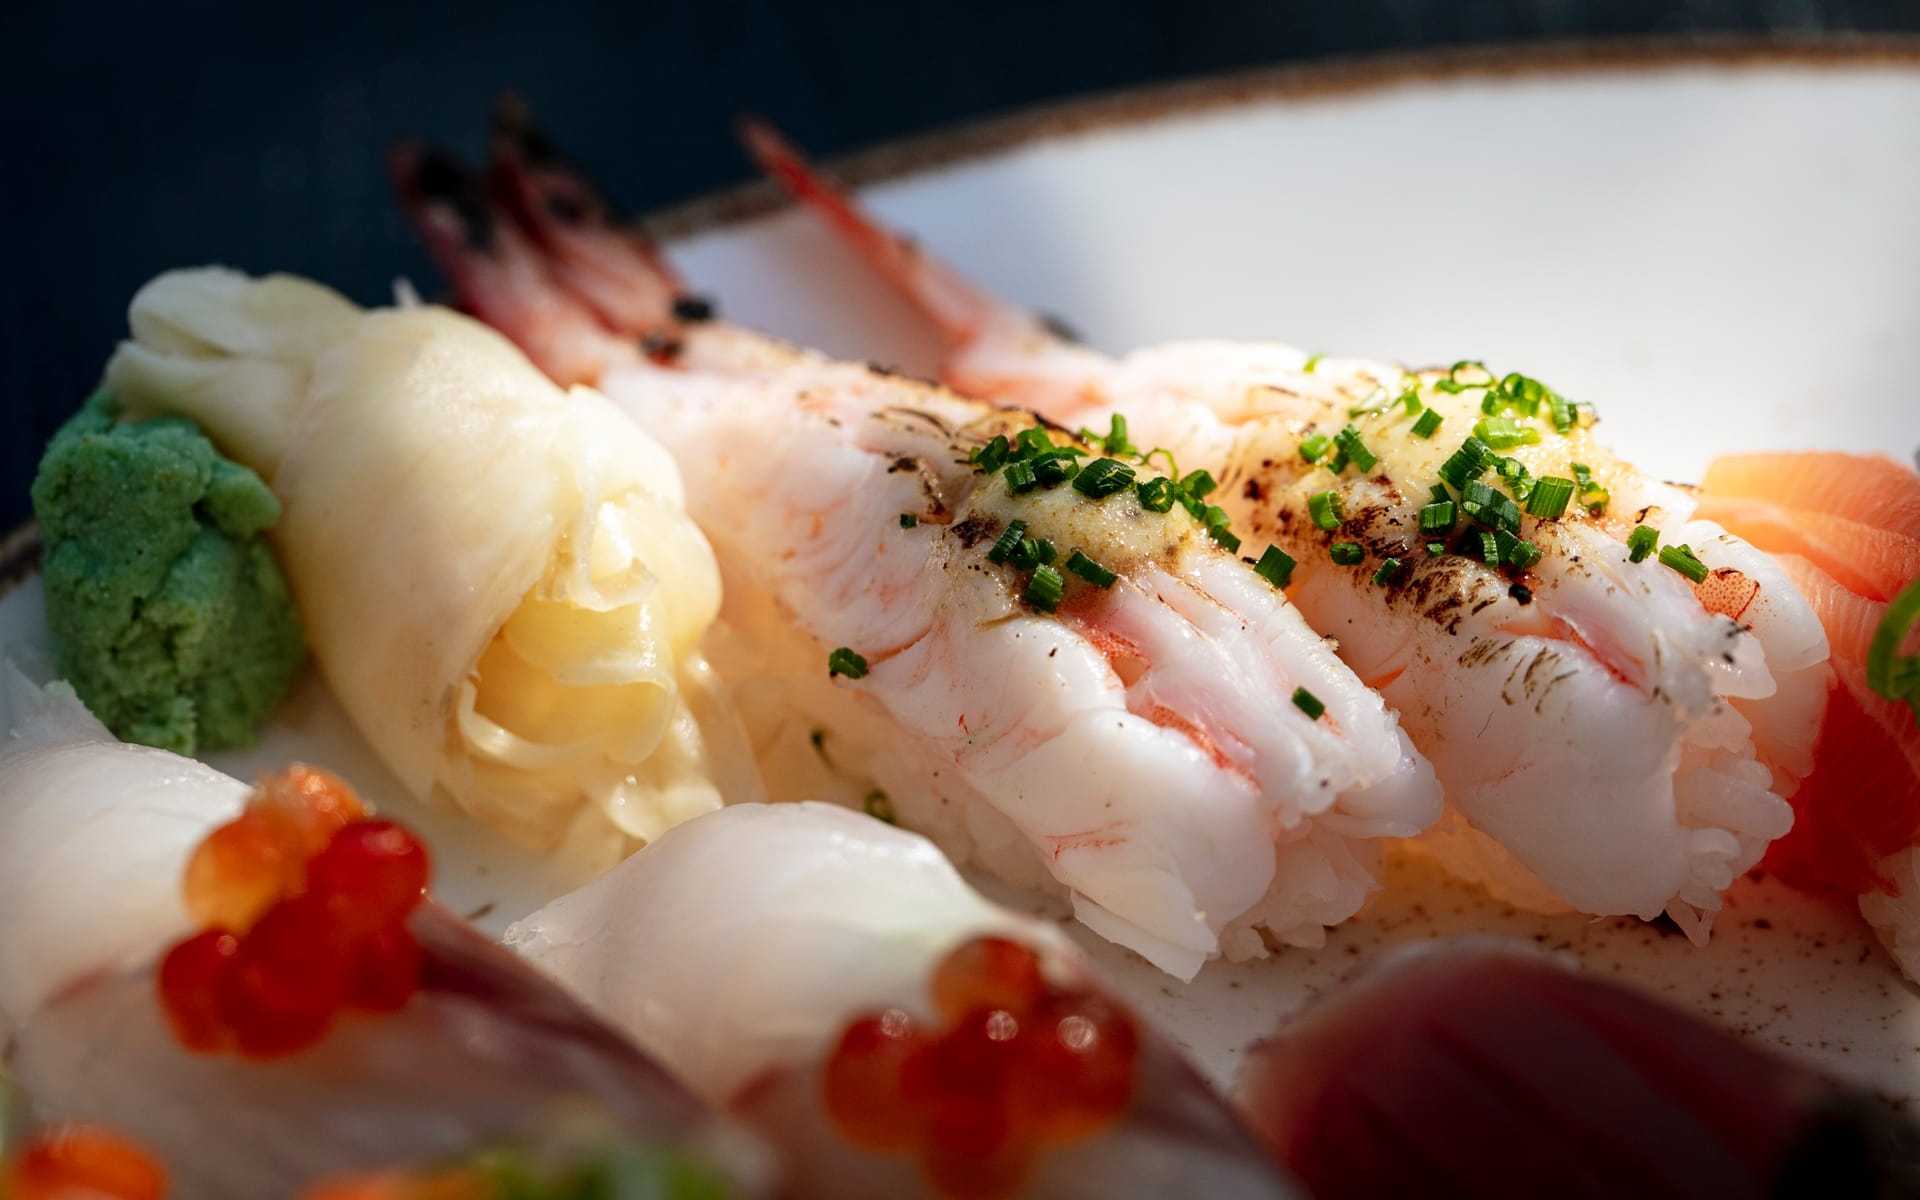
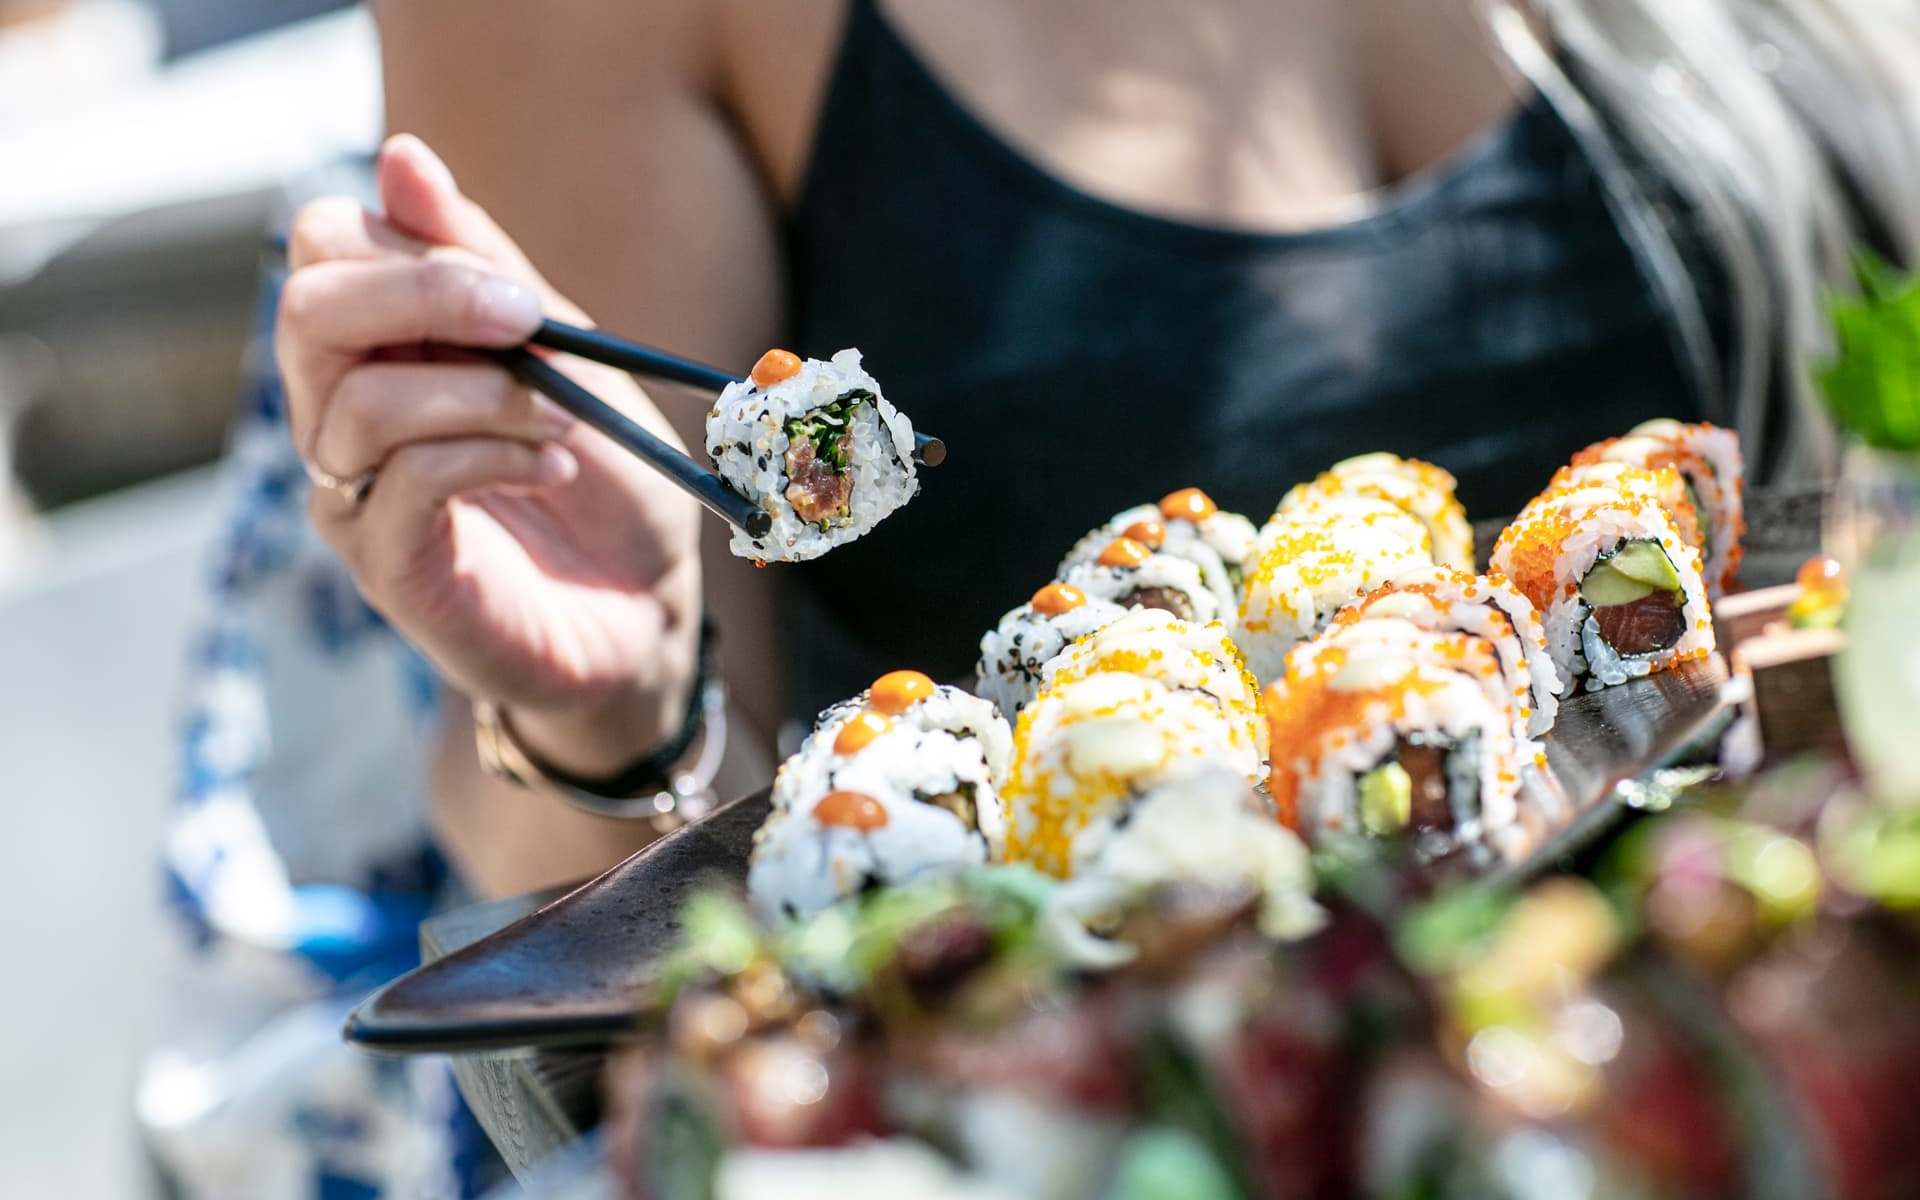
Skip to content

It’s a New Year… issho-ni!

January 2, 2012

We’re back! Happy New Year to everyone! Hope you all enjoyed your time with friends and family. We had a good time down in LA with the nice warm weather but couldn’t help but to miss Walnut Creek. Who wouldn’t? Everything is so incredibly convenient here and you can noticeably tell the difference in the fresh, clean air.

I’m not one to make New Year’s resolutions, but feel it’s so much more rewarding setting small/daily and or weekly goals that allow me to accomplish several over the year. Last year was quite busy as Mas and I moved to East Bay and started our career adventures in the city. Last year was also the beginning of issho-ni, quite exciting!

New Year’s eve was spent at Jon’s house with Yumi and Joey and a sweet Google Hangout with Chris and Taka in Japan. Yes! We counted down across the world and had so much fun getting to hang out with everyone (no pun intended).

New Year’s day, Mas and I went to Coast Beach Cafe and Bar in Santa Monica (cafe within Shutter Hotel). It was right on the beach and did I mention that the weather was beautiful?! It was a great way to spend New Year’s.

How was your New Year’s? Do you have any new daily/weekly goals?

image

image

image

Tis the Season to be Jolly!

December 13, 2011

Fa la la la la…la la la la. There’s something about the Christmas season that makes me think that I can sing opera in the most off pitch tone and often forgetting the correct lyrics but I enjoy it (not to say that others do haha). I guess it’s a talent I’ve acquired over the years and well I love traditions so I’ll keep this one going.

Oh Christmas Tree, Oh Christmas Tree was of course my song of choice as Mas and I went to go get our very first Christmas tree together! I promised him that he would love the 5′-6′ foot tree, unlike the 3′ft he was sold on BEFORE we arrived at Lowe’s. We brought Douglas home, along with a wreath for our front door and our place turned into Christmas. Douglas is a true beauty and mmmm our apartment smells sooo good.

I’ve always wanted to make my own stockings so this year was indeed the year for just that! Of course with my obsession with Hello Kitty and Domo seemed only appropriate to base my stockings off of those two. I seriously love the way that they turned out! If you are interested in the main shape of the stocking, email me and I’ll send you the template that I created.

Holiday Festivities in Walnut Creek

December 2, 2011

Last night we enjoyed the annual holiday festivities in Walnut Creek’s Broadway Plaza. The Christmas spirit is definitely in the air!

We walked to the gathering where families dressed in holiday attire and swarmed the tents of local vendors as they handed out free bubbles, necklaces and toys. The sounds of the live band singing Christmas songs, awaiting the parade and Christmas tree lighting put a smile on everyones faces.

We sat down on a bench and people watched, listened to the music and enjoyed the event.

We’re going to buy our tree tomorrow so I’ll definitely be posting pictures next week! Have a great weekend everyone!


Royal/T + Momiji Dolls (Los Angeles, CA)

November 30, 2011

Hope everyone enjoyed their holidays! I’ve been on a bit of a hiatus lately, busy with work and the holidays (you know how it is!), but we (Mas included) have also been busy working on creatively putting the puzzle pieces together for issho-ni. What does this entail you ask? Well a completely new re-design of the blog (thanks Mas!), which will also carry over to my Etsy shop (Japanese Yen Bracelets coming soon!). Don’t worry, I’ll give you a bit of a sneak peak in the coming days. I will also need to brush up on my html/css so that I can implement the new design, truly a team effort…isshoni!

While we were down in LA this past weekend we visited a very unique, curated Asian art gallery + tea station with our friends Joey and Yumi called Royal/t. It wasn’t like any gallery / store that I’ve ever been to. The art was encased behind clear plastic walls and had everything from wall art to installation pieces. I’d have to say the porta potty with a disco ball inside was quite clever, if you don’t believe me check out the images on Yelp and their website!

The store section of Royal/t was so cute! They had a Christmas tree and the area was completely decked out for the holidays. I was introduced to Momiji dolls and the fact that they had Hello Kitty ones I was hypnotized and headed straight to the cashier. Momiji dolls are not only adorable figurine dolls, but they carry a special gift, that of a message, hope or dream created by you! There is a small piece of paper (much like a fortune cookie) at the base of the doll, take it out, unfold the paper and write your message, you then place it back in  and work towards it for it to come true! The Momiji story is available on their website as well.

DIY Candy Jar (Yum!)

November 21, 2011

Thanksgiving week is already here! I can’t believe it. Mas and I moved up to Walnut Creek 6 months ago and have enjoyed everything about living in this cute, quaint community since. We went ice skating Saturday night, it was so much fun! The rink is outdoors but is covered 3/4 of the way with a tent. Where it was open we felt the crisp , cold air and gentle drops of rain trickle down our faces as we skated by. We enjoyed the night!

I made a trip to Joann’s on Saturday,  couldn’t pass up the great deals, but I think I find myself saying that every weekend. Hmmm. Joann’s knows how to reel in crafters with their amazing coupons. I bought fabric for Christmas presents and found a cute Hello Kitty holiday fabric that caught my eye. I wasn’t sure what I was going to do with it but figured I’d buy a 1/2 yd. The DIY came to mind as I had also bought a bunch of mini candy canes. I thought hey I know what I can do with that fabric! I cut out a circle and taped (need to buy glue) it right into the lid. So cute!

We will be heading back home (LA & OC) for the holidays and are looking forward to visiting friends and family and eating delicious food! Hope you all have a safe and amazing Thanksgiving holiday!

DIY Light Tent

November 15, 2011

Good Morning! How was your weekend? I’m still here, just had quite the busy week last week!

Mas and I finally felt that it was time to make or buy a light tent so that we would be able to take pictures for issho-ni and my bracelets that I’m going to start selling on Etsy. We came across a great tutorial online that has text instructions, visuals, as well as video on Strobist, so it made the process quite easy.

We made a trip to Target and picked up a majority of what we needed but they didn’t have white posterboard and tracing paper so we headed over to Office Depot. The cost wasn’t $10 (from the tutorial) as we had to buy pretty much everything, lamps included. We did find two adjustable neck desk lamps at Target for $14.99 each, so the cost of the project will really depend on what you already have laying around.

Turned out pretty awesome! We were so excited to use it and it definitely made a huge difference with extracting out the yellow hues from normal lights. Another plus is that it fits in our apartment and takes up hardly any space. Woo hoo! My craft area is getting quite expansive so the more compact the better!

If you’re and Etsy shop owner or just enjoy taking pictures of objects I highly suggest building one of your own. We’re thinking of how to setup a scene for our Christmas card, looking forward to it!

Cut

Cover with tracing paper + add black posterboard to back

Add white posterboard for back drop. Had to run to target to buy another light :)

Beautiful, clear and crisp! Adding bracelets to my shop soon!

Creatively Caught Up Friday (Maps)

November 4, 2011

Well hello there! Yes, we made it through the week! Anything interesting happen?

Today I’m Creatively Caught Up in …drum roll…maps!

They’re fascinating and so many are quite historical in themselves. It’s interesting to think that states / countries have been split from land movement (and politics of course) and have change maps over time. Recently, Mas had bought me a Japan & Korea map from Etsy (I swear this is the place to buy anything and everything now of days as well as support small businesses at the same time). I took it upon myself to matte and frame it. Eek! Let’s just say that I’ve one thing crafty that I don’t enjoy that much. I think it came out great for my first time, but there was quite a bit of cussing while working on it haha.

I wonder who keeps up with map information now of days (other than Google). How did Thomas Guide keep up when printed maps were the way to go?  The evolution of maps is now of course digital, but I think it’s only making me appreciate printed maps much more.

Growing up I remember my Grandma having a travel globe and would mark each place she had visited. Since I’m now starting to venture into traveling I’d like to start something like this as well.

So I’m going to contradict myself a bit right now eh maybe not, but I’ve found Google Maps to be extremely helpful with planning our trip to Japan. All I have to do is create a “place”, search for a location, drag and drop a marker and “save to map” (using the dropdown to select your saved map “place”). All of the places are saved within one map and appear to the left. Below I have our map so far. If you’ve been to Japan and have any suggestions that aren’t marked let me know!  I’m definitely looking forward to seeing friends, Mas’ family and… Sanrio Land haha, yes it exists!

What do you use to keep track of where you have been?


View Larger Map

In case you missed them:

DIY – Wood Wall Art

Happppppy Halloweeeeeen!

DIY – Wood Wall Art

November 1, 2011

This past weekend was DIY central around here, I think it’s the change in weather! We’ve been racing our heads on ways to fill our walls with personalized touches and of course DIYs that the two of us could work on together. When we visited Mendocino a few weeks back the bed and breakfast that we stayed at had naturally divine artwork from local artists. The high ceilings were complimented by elongated pieces of beautifully painted wood art. Remembering our love for the art pieces, we thought, hey why not take a stab at creating our own wall art. So off to Lowe’s we went!

Straight to the lumber area! I was surprised by the several variations of wood. At first we were scared of the cost of the project as each wood plank was $20 each and beyond what we needed BUT as we were walking around the store the flooring area caught my eye. Why? You ask. Well, the amazing wood floor samples that were not only already stained but in different colors and textures! Did I mention the low cost? Yup! Only $0.25 each and they are 5″x4″ blocks (roughly 1/2″ thick). Score! We also grabbed 1/4″ /  2′x2′ plywood for the main backing. Lowe’s offers free wood cutting, so we trimmed it down to 14″x22″. Save the extra wood and have the wood person cut a piece that is about 13″x 2″, this will be for the backing that you’ll attach the hardware to.

Onto the stain, both Mas and I had never stained anything before but it looked like fun! We chose an ebony finish and picked up liquid nails (totally amazing for non-hardware owning people) while we were on the aisle.

Steps

  1. Sand the plywood to get the little stickers off.
  2. Stain – apply a coat, let it dry (stain says 24 hours but it was hot out and waited about 4 hours), apply a second coat.
  3. While you’re waiting for the first coat of stain to dry, peel the stickers off the backs of the wood floor samples and sand.
  4. Stain the top & bottom pieces of wood edges so they blend with the background.
  5. Liquid nail time! Yes! Although the wood floor samples snap together, spread some glue to hold them nice and tight together. Allow to dry.
  6. Once the final coast of stain has been applied and dried, evenly spread liquid nail on the backs of the wood floor samples and place on the plywood.
  7. Allow to dry! (we placed books on top to hold them in place and secure the placement)
  8. With the 13″ x 2″ piece of wood, glue to the back of the plywood.
  9. Screw in bracket wall hangers to plywood.
  10. Measure out where the two nails should go and hang!

Supplies + Cost breakdown

(1) 1/4 2×2 Oak @ $4.65
(1) Shaw Siena Hickory Wood Floor Sample @ $0.25
(1) Shaw Frontier Hickory Wood Floor Sample  @ $.025
(1) Shaw Pioneer Hickory Wood Floor Sample @ $0.25
(1) Shaw Metropolitan Map Wood Floor Sample @ $0.25
(1) Shaw Cashmere Hickory Wood Floor Sample @ $0.25
(1) Shaw Renaissance Maple Wood Floor Sample @ $0.25
(1) 2″ Foam Brush @ $3.44
(1) 4 oz Liquid Nails @ $3.47
(1) 3m Coarse Grit Sanding @ $2.97
(1) 1/2 pt Ebony Oil Stain @ $5.19
(1) pack of bracket wall hangers (had these)
(2) nails (had these)

Total cost: $23.08 (including taxes)

Supplies

Before

First coat of stain

After

Happppppy Halloweeeeeen!

October 31, 2011

Boo! Just keeping this post short and sweet. Hope you all enjoy your Halloween and keep it safe!

I have an exciting post tomorrow, so ladies grab your guys / or guys grab your ladies ;-) , this will be a project that the two of you can do!

Creatively Caught Up Friday (Paper)

October 28, 2011

The Fall weather has officially kicked in and this week was by far the hardest to adjust to waking up to darkness. Fortunately the Bart gives us that extra 30ish minutes to fall back asleep haha.

This Friday I’m creatively caught up in…paper!

It was around Christmas time last year that Mas and I visited the Glendale Americana and came across a neat little paper store. I looked it up last night for the post and it appears to be gone now, bummer! Anyways, I was in awe of the flocked paper they had. It was at this time that I first learned what flocked paper is. The decorative floral paper has a great velour texture that not only adds contrast, but depth.

I didn’t want to use the paper for just any project,  as it was beautiful and a piece of art on its own, so I wrapped it around a 9×12 canvas. Love the way it looks!

Hope you all have had a good week? Any great plans for the Halloween weekend?

Mas and I will be working on a very cool DIY for our bedroom so check back on Monday to see!

In case you missed them:

Fall is in the Air!

Button Up!

Wrap Around Travel Journal

Japanese Coin Bracelet

Follow

Get every new post delivered to your Inbox.